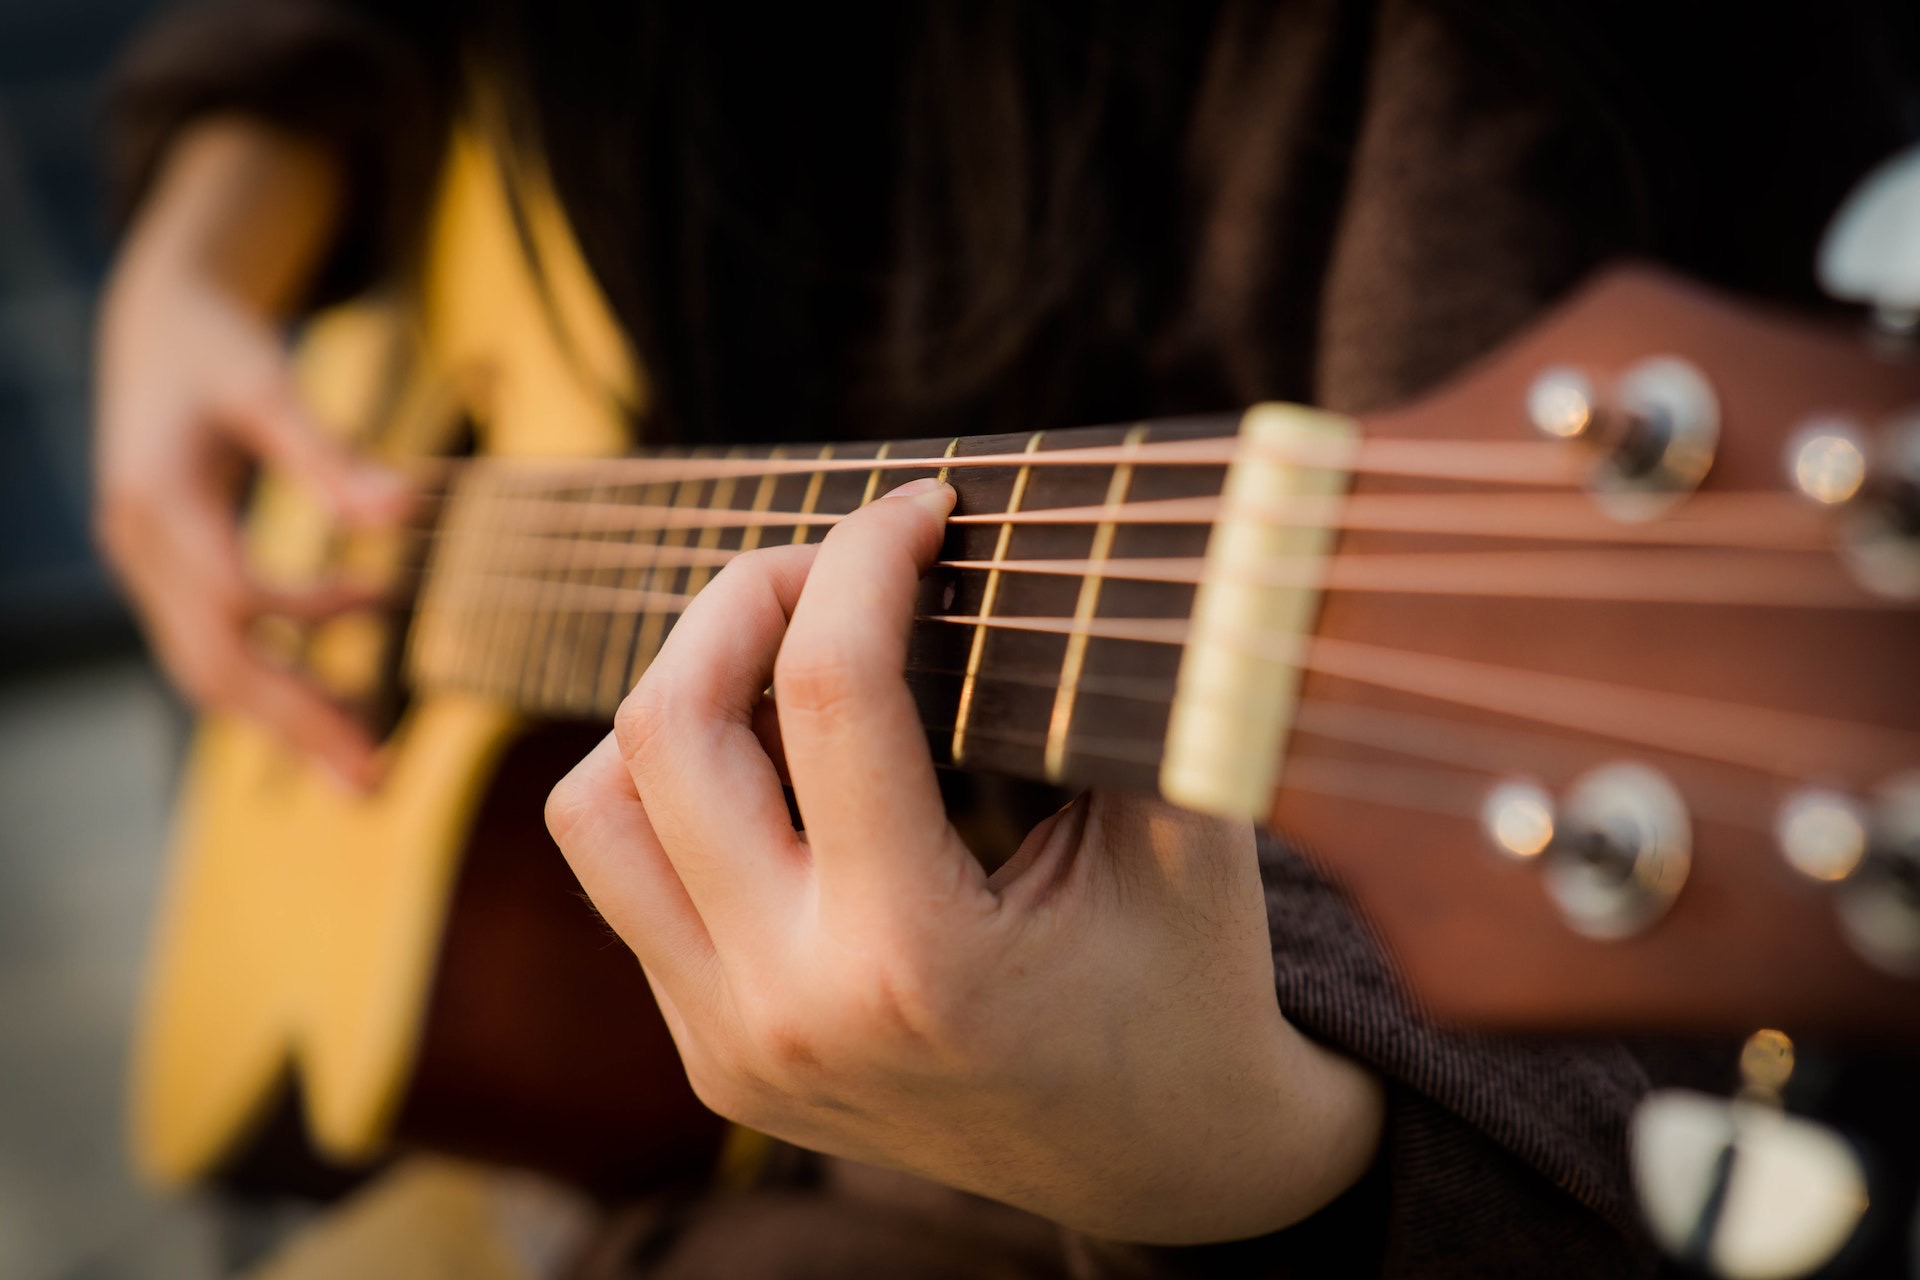
Recording acoustic guitar can be a challenge, but with the right techniques and tools, you can achieve great results.
First, you want to select the best available microphone for the job. A large diaphragm condenser microphone will provide the best sound quality. When positioning your mic, you need to consider both the sound source and the room. Aim the mic towards the sound hole of the guitar, while at the same time trying to capture some of the ambient sound of the room. Experiment by changing the positioning and distance of the mic until you find the best possible balance between sound source and room ambiance.
Another important factor is pre-amp settings. Make sure that you check and adjust your pre-amp level settings before recording. Many digital audio workstations (DAWs) offer gain options for increased input volume. Particular attention should be paid to the input level of your DAW, as clipping can result in distorted and unusable recordings.
When it comes to the actual recording process, keep it simple and straightforward. Be sure to remove any extra noise from the room by silencing your environment. This includes turning off noisy electronics, closing windows and doors, and using soundproofing materials. As always, give yourself plenty of time to capture the best possible take. With practice, you’ll be able to instantly recognize if a take is worth saving or not.
Finally, don’t forget to use post-processing effects such as EQ, compression, reverb and delay. These can help give your recording a more professional and polished sound. Reverb and delay can also help create a bigger and wider sounding acoustic guitar.
Recording acoustic guitar can be a fun and rewarding experience. With the right tools, patience and experimentation, you can create amazing sounding recordings. Just remember to keep it simple and trust your ears.


