
Introduction
Recording vocals can be a daunting task. You need to have the right equipment, you need to position your microphone correctly, and you need to be able to hear yourself well enough that you know what the end product will sound like. But if done right, recording vocals can be a rewarding experience with many benefits over just using an in-ear monitor or handheld mic. Here are some tips for recording better vocals from start to finish:
Microphone placement.
Microphone placement is key. You want the microphone close enough to pick up your singer’s voice, but not so close that it picks up too much background noise. A good rule of thumb is about 6 inches away from their mouth if they are sitting or standing still, and 4-5 inches when they move around or sing louder.
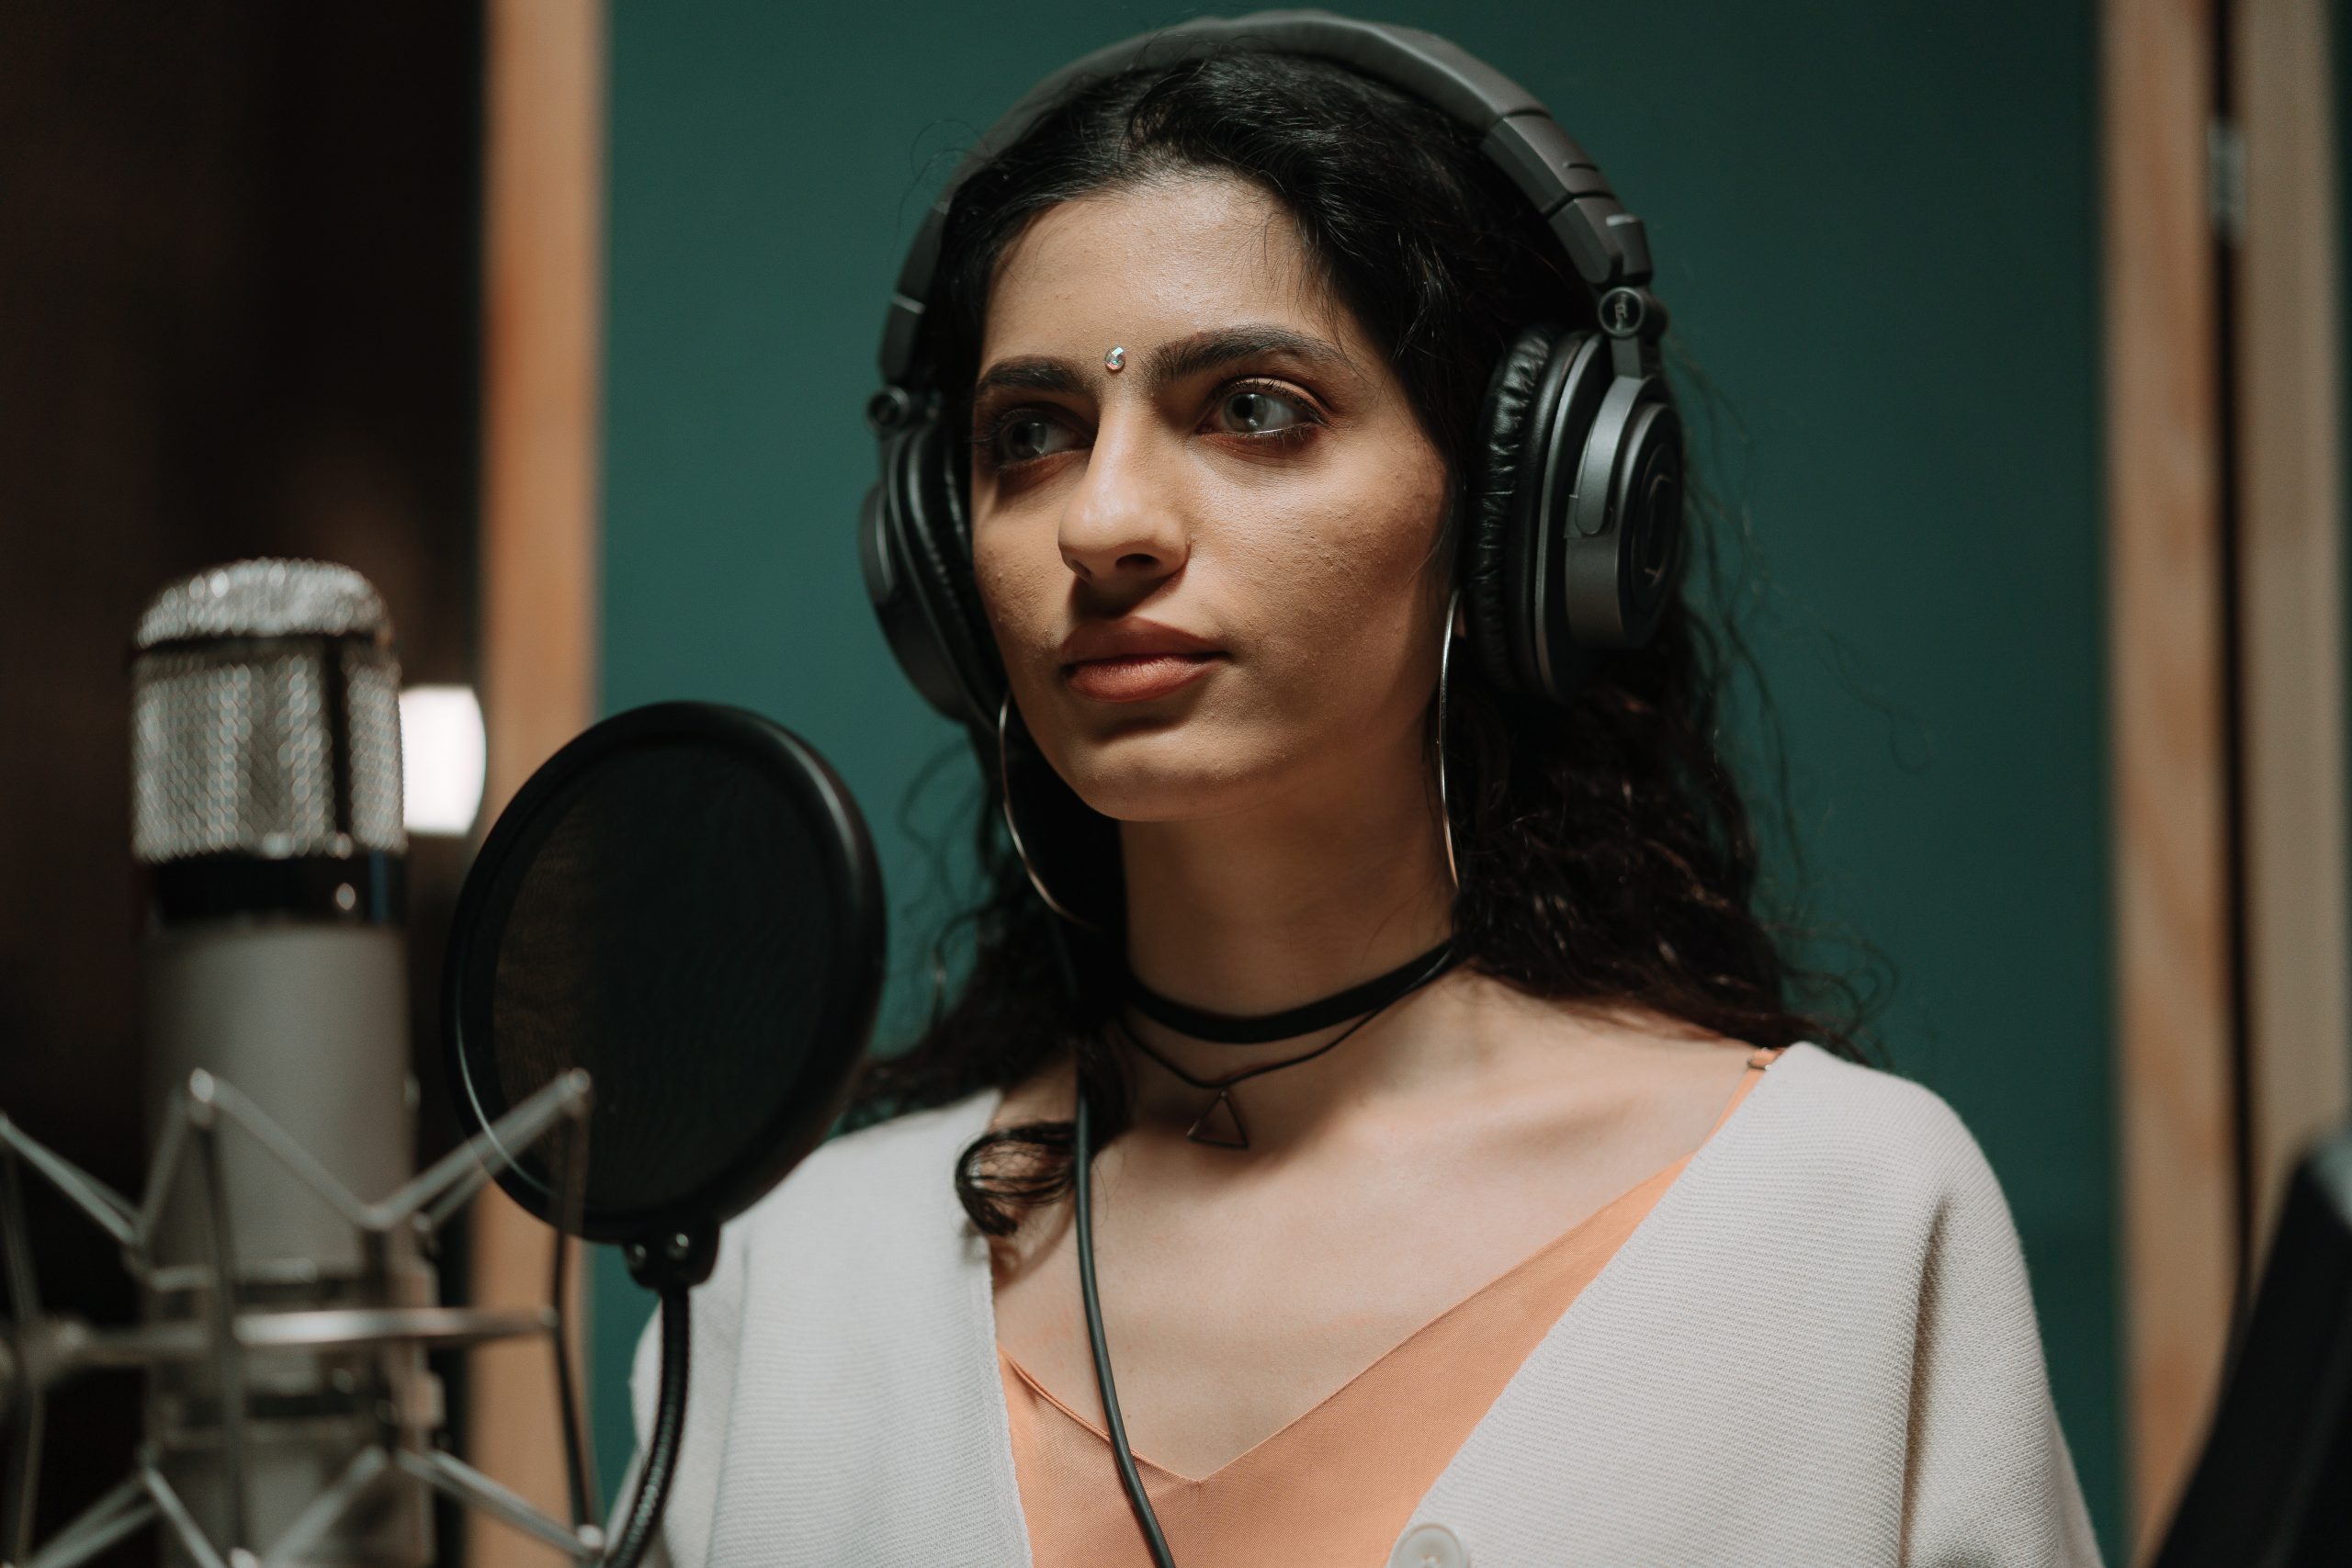
Headphones.
- Headphones are essential for monitoring. You need to hear exactly what you’re recording in order to know how it will sound on other speakers, headphones, or earbuds.
- Sound isolation is important so that you can hear yourself clearly without being distracted by outside sounds like traffic or the hum of an air conditioner.
- Headphones should fit comfortably without putting too much pressure on your ears or head (which can lead to headaches). In addition, they should provide sufficient bass response without distorting at high volumes–and ideally with a flat frequency response across all frequencies. This helps ensure that your music won’t be colored by poorly-sounding headphones when it’s played back elsewhere (e.g., through speakers).
Sound interface and DAW (Digital Audio Workstation).
A sound interface is a piece of hardware that connects your microphone to your computer. You can use it to record vocals and other instruments, but you’ll need a DAW (Digital Audio Workstation) for editing and mixing.
A DAW is software that allows you to record and edit audio files on your computer. There are many different DAWs available, with varying prices and features — some even come free! You’ll need one if you want to do any kind of editing or mixing work on your recordings after they’ve been recorded by means of an external microphone through an external sound interface.
Recording vocals can be extremely difficult, but if you set up the right equipment and are careful about microphone placement, it can be done in a much more effective manner than with just a microphone in one hand and headphones on your ear.
Setting up your recording space is very important. It’s best to have a room with as little echo as possible, and it’s also a good idea to make sure that there are no windows or doors nearby that are open or closed. This will help reduce any unwanted noise coming from outside sources.
You should also make sure that the microphone is placed in a good spot–not too close, not too far away–and has enough room around it so that there isn’t any feedback when you sing (feedback occurs when sound reaches its own source).
Finally, make sure that your headphones are placed in an optimal position so they aren’t muffling your voice while recording vocals through them on top of being connected properly through the right port on both devices (sound interface and DAW).
Conclusion
There you have it, the basics of recording vocals. If you follow these steps, we’re sure your recordings will sound better than ever before!